


From $18.99
DTF Gang Sheet Builder
Product Details
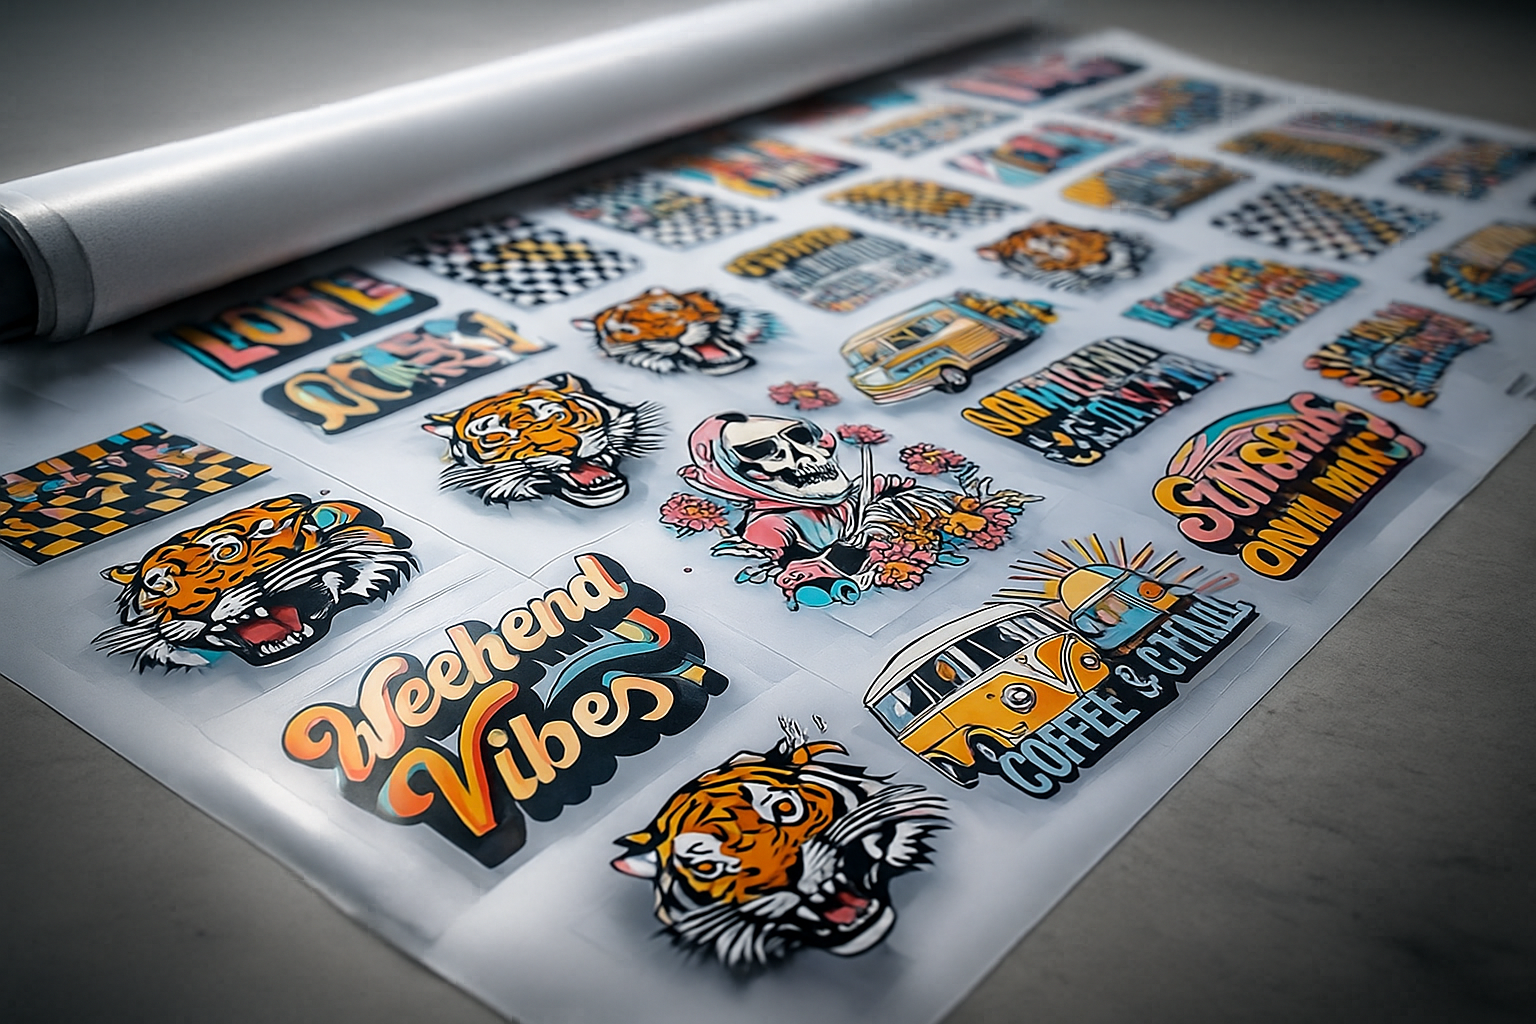
Build Your Own DTF Transfers Gang Sheet
Use Our Online Gang Sheet Builder
Create custom DTF gang sheets with ease using our powerful Gang Sheet Builder—right on our website! Whether you're printing for business or personal use, our builder allows you to upload and arrange multiple designs on a single sheet for maximum efficiency and creativity.
✅ Why Use Our DTF Gang Sheet Builder?
-
Easily combine multiple designs on one sheet
-
Reduce production costs by minimizing waste
-
Print vibrant, high-resolution images with incredible detail
-
Perfect for bulk orders, small businesses, and creative projects
Don’t see the size you need or can’t find the product you’re looking for?
Give us a call—we're happy to help and will assist you promptly.
No Gang Sheet? No Problem.
We also offer Ready-to-Press DTF Transfers for those who prefer pre-designed sheets.
All of our DTF Transfers are printed on high-quality film and only require a heat press to apply. No weeding, no mess—just vibrant, durable results.
Features+
Print Any Design on Any Fabric: Panda DTF (Direct-to-Film) Transfers offer unmatched versatility, allowing you to create bold, long-lasting prints on virtually any garment or material. From cotton and polyester to blends and leather, our advanced adhesive powder and premium inks ensure a perfect bond and professional finish on every surface.
Brilliant Colors and Sharp Details: Experience exceptional color vibrancy and stunning precision with Panda DTF Transfers. Our advanced printing technology captures even the smallest details—fine lines, gradients, and intricate designs—bringing every piece of artwork to life with remarkable clarity and depth.
Effortless Application: Enjoy a fast and simple transfer process—no weeding, no pretreatment, and no hassle. Just position your design, press it, and achieve flawless, professional-grade results in minutes—much quicker than traditional printing techniques.
Smooth and Comfortable Feel: Panda DTF Transfers deliver a luxuriously soft finish that feels natural against the skin. Unlike vinyl or DTG methods that can feel stiff or rough, our transfers produce a flexible, lightweight, and comfortable print that customers love to wear.
Built to Last 100+ Washes: Designed for durability, Panda DTF Transfers maintain their color and quality wash after wash. Withstanding over 100 washes without fading or cracking, they’re made to handle the demands of daily wear while keeping your designs looking fresh and vibrant.
Satisfaction Guarantee+
We stand behind the quality of every transfer and sticker we print. If you’re not completely satisfied, we’ll reprint your order with a new or revised file at no cost to you.
Pressing Instructions+
1 – No Need for Pre-Pressing or Pre-Ironing
With Panda Peel Transfers, there’s no need to remove moisture or wrinkles beforehand. A pre-press is optional and only needed if you personally prefer it.
2 – Place Your Design
Position your transfer exactly where you want it and make sure it’s smooth and flat before pressing. You can press right over seams — such as on 6-panel hats or t-shirt side seams. For hats or when using a home iron, it’s best to secure the transfer with heat-resistant tape to keep it in place. You’ll quickly learn when it’s needed through experience.
3 – Press & Peel After a Few Seconds
Press your transfer at 310°F / 155°C using medium to high pressure for about 12 seconds. It’s a good idea to test one item first.
Use parchment paper or Panda’s Silicone Upper Platen Cover (prevents scorching and replaces parchment paper) to protect your garment from direct contact with the press or iron.
After pressing, wait a few seconds and then peel the film. If parts of the design haven’t adhered properly, re-press with slightly more pressure and heat (increase by about +15°F). If needed, repeat in 15°F increments until the transfer applies perfectly.
The great thing about Panda DTF Transfers is that multiple presses won’t harm your design.
If your garment starts to scorch, first try reducing pressure. If that doesn’t fix it, lower the heat by 10–15°F while keeping the reduced pressure. With a little practice, you’ll discover the best settings for every fabric type.
4 – Final Press & Washing Instructions
Important: Most other DTF suppliers suggest pressing just once — but that’s incorrect. After extensive wash testing, Panda has found that a final press is essential for the best results.
Once you’ve transferred the design and peeled off the film, cover the print with parchment paper and press again for 15 seconds. This step significantly improves durability, softness, and reduces shine, giving your product a premium finish.
Related Products

DTF Gang Sheet Builder Reflective
✅ DTF Gang Sheet Builder Reflective Use Our Online Gang Sheet Builder Create custom DTF gang sheets with ease using our powerful Gang Sheet Builder—right on our website! Whether you’re printing for business or personal use, our builder allows you to upload and arrange multiple designs on a single sheet for maximum efficiency and creativity. […]
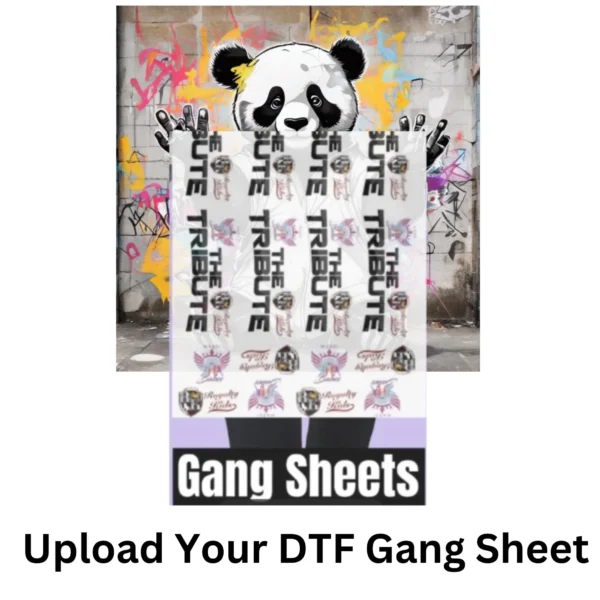
DTF Upload Your Own Gang Sheet
Upload Your Own Gang Sheet for DTF Transfers Can’t find the size you need or the product you want? Call us at 516-703-9601, and we’ll get back to you promptly. Thank you for choosing us for your custom apparel needs. Design Your T-Shirt with DTF Transfer Gang Sheets: Unleash Your Creativity! Revolutionize your T-shirt design […]
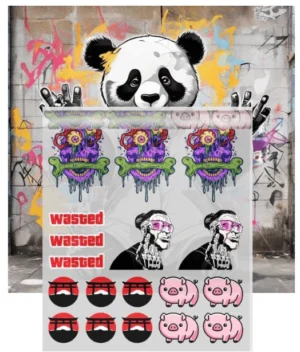
3D UV DTF Sticker Gang Sheet Builder
Need Help Designing Your Gang Sheet? Call or text: 516-703-9601Email images & questions: info@pandadtftransfers.com Take Your Sticker Game to the Next Level Create custom UV DTF stickers with our Design Your Gang Sheet service!If you don’t see the size or product you need, simply email us—we’ll respond promptly and help you get exactly what you’re […]


DTF Gang Sheet Builder Glitter
✅ DTF Gang Sheet Builder Glitter Use Our Online Gang Sheet Builder Create custom DTF gang sheets with ease using our powerful Gang Sheet Builder—right on our website! Whether you’re printing for business or personal use, our builder allows you to upload and arrange multiple designs on a single sheet for maximum efficiency and creativity. […]